With 3D technology, awesome gadgets are birthed into reality by the global community of makers, professional designers and engineers alike. As a company always striving for excellence in the sectors of 3D scanning, intelligent design and 3D printing we aim to inspire you with a bouquet of extraordinary ideas which you too, can use to upgrade your daily life efficiently! In today´s case we examine the replacement process of a motorbike spare part which was reproduced faster and much more cost efficient with the technologies from scan to print, powered by SHINING 3D!
Table of Contents
Spare parts for a motorbike : from 3D scan to 3D print
Isn´t it convenient when you go on a journey, to have everything necessary at hand without the need of using a big suitcase? Two axisymmetric steel pipes are sticked on a fixture on a motorbike composing a saddlebag holder and thus make it possible to mount luggage on the back of the vehicle. Unfortunately one of these pipes was lost during driving, so in order to continue the journey of convenience, a replacement is needed. We have tackled this issue by means of 3D scanning and metal 3D printing, technologies by which SHINING 3D aims to upgrade and add value to the lives of many.
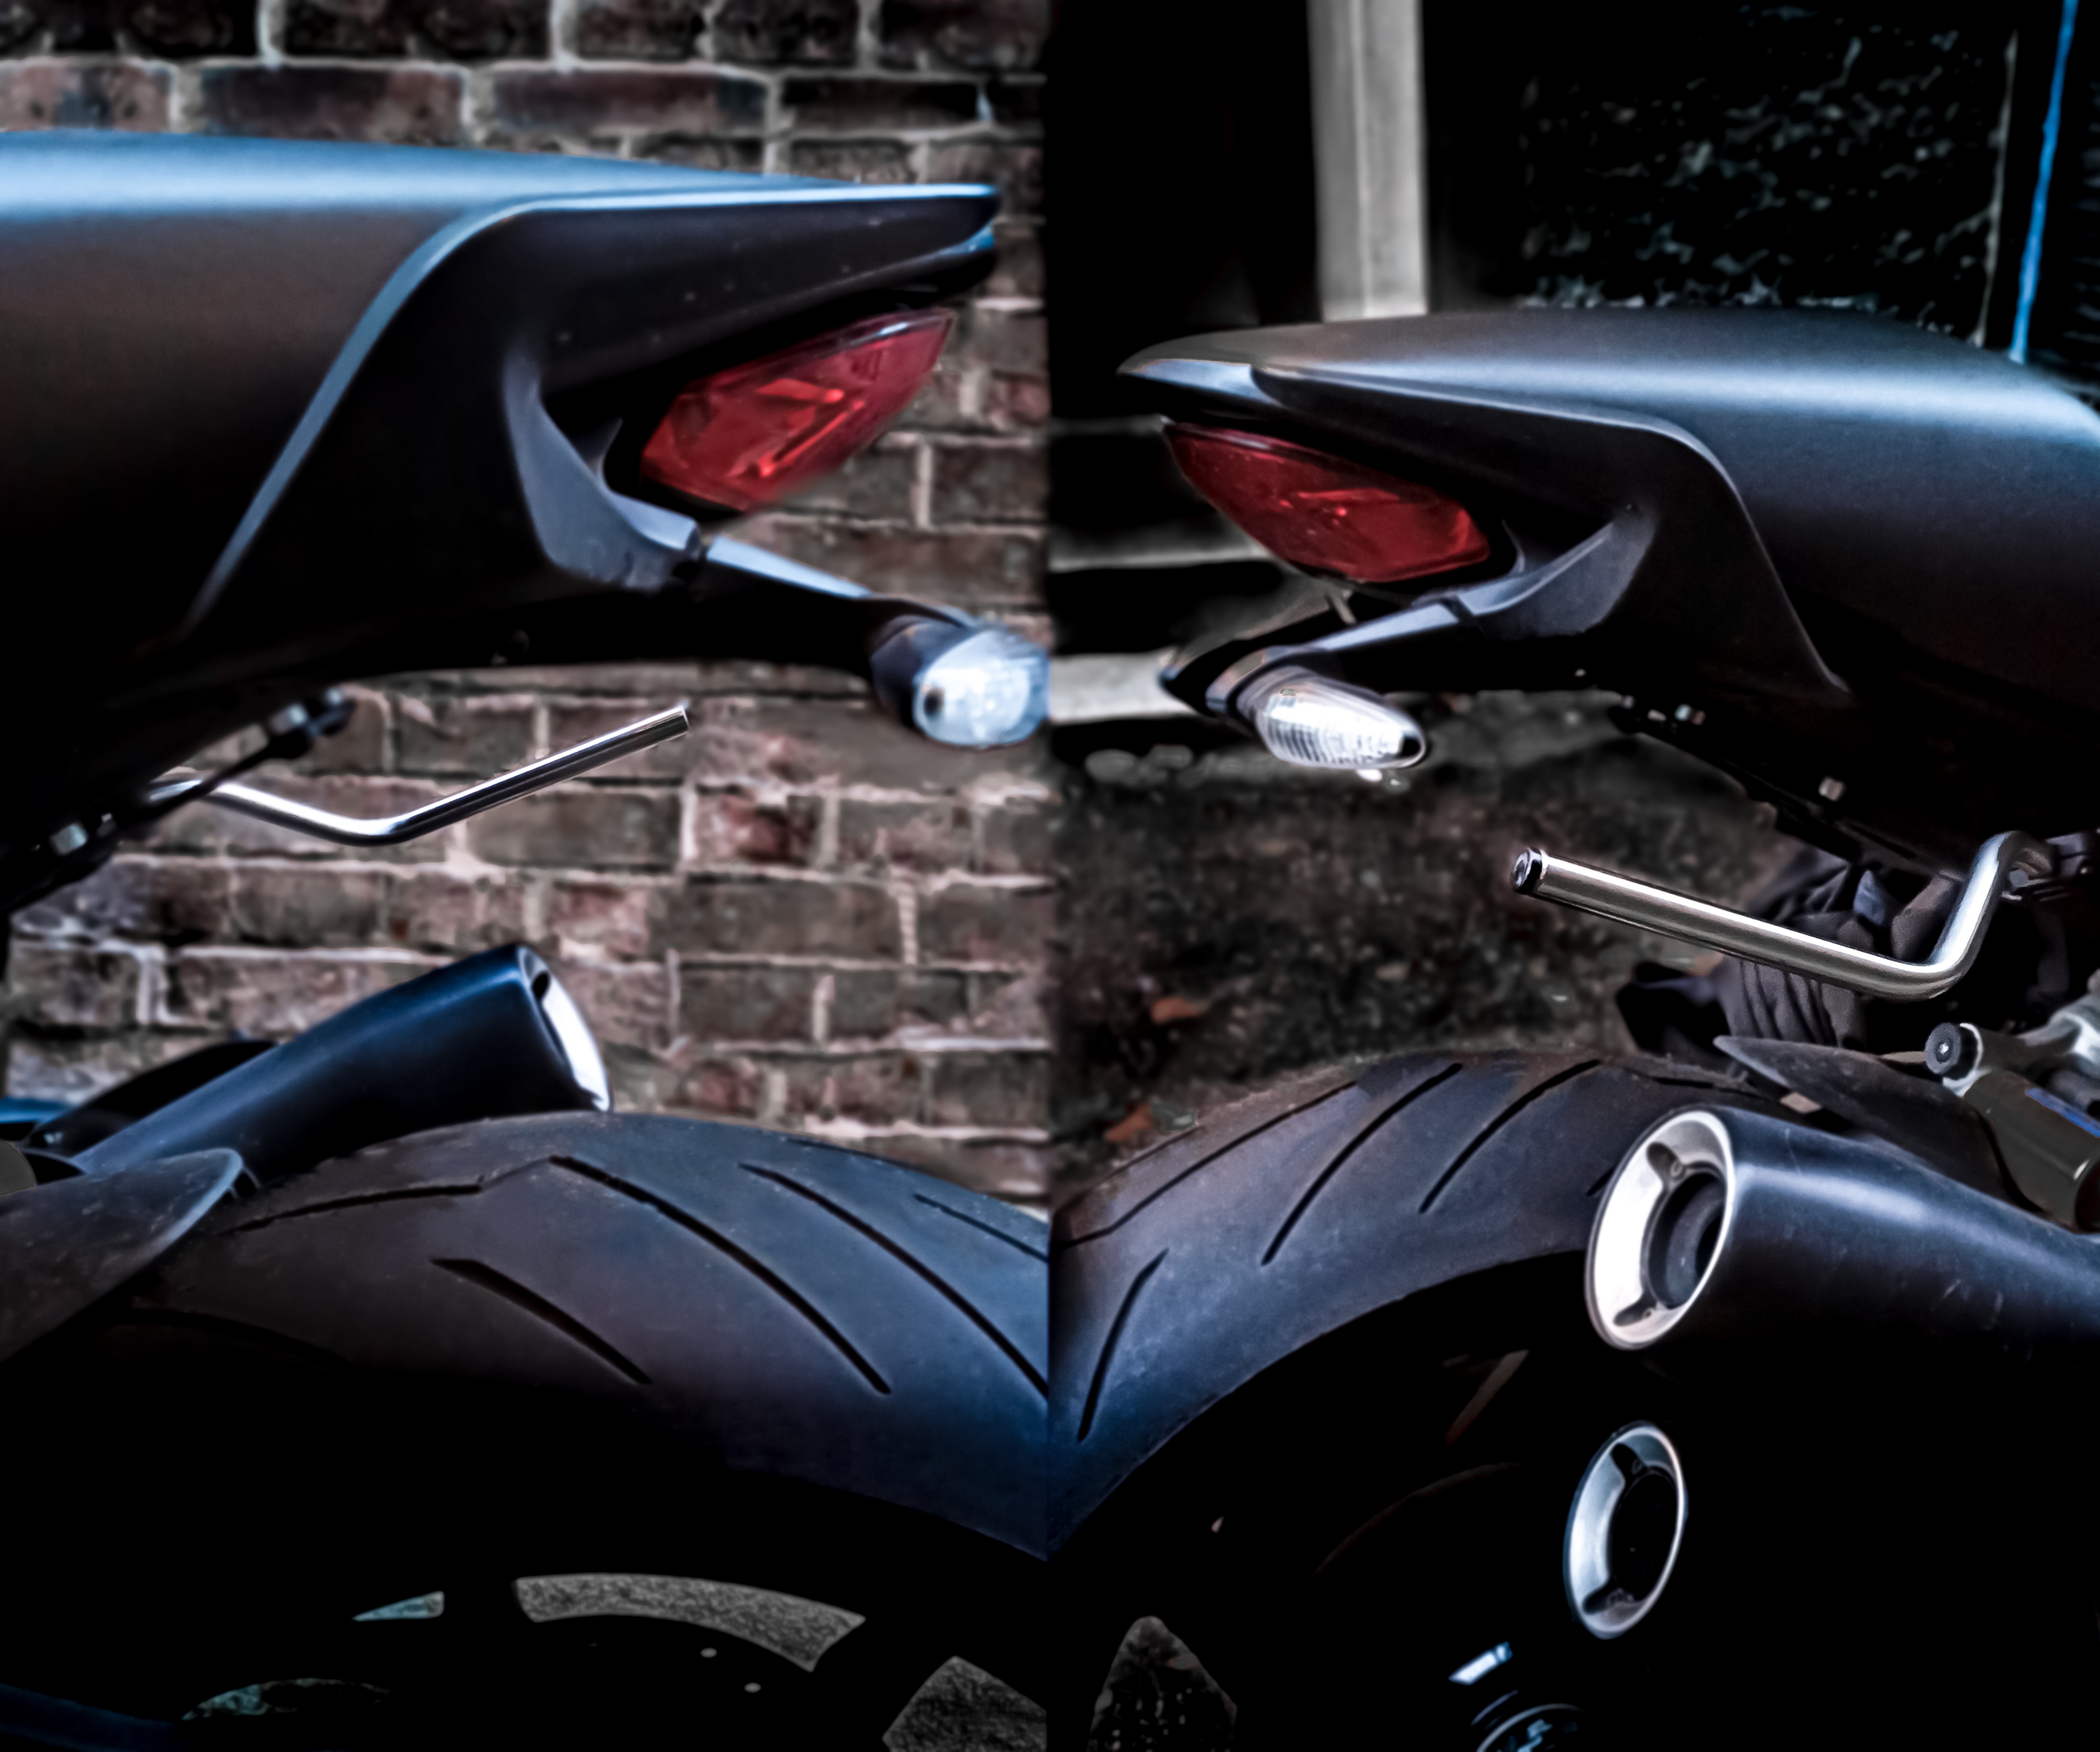
Motorbike with only one pipe
STEP 1: 3D SCAN
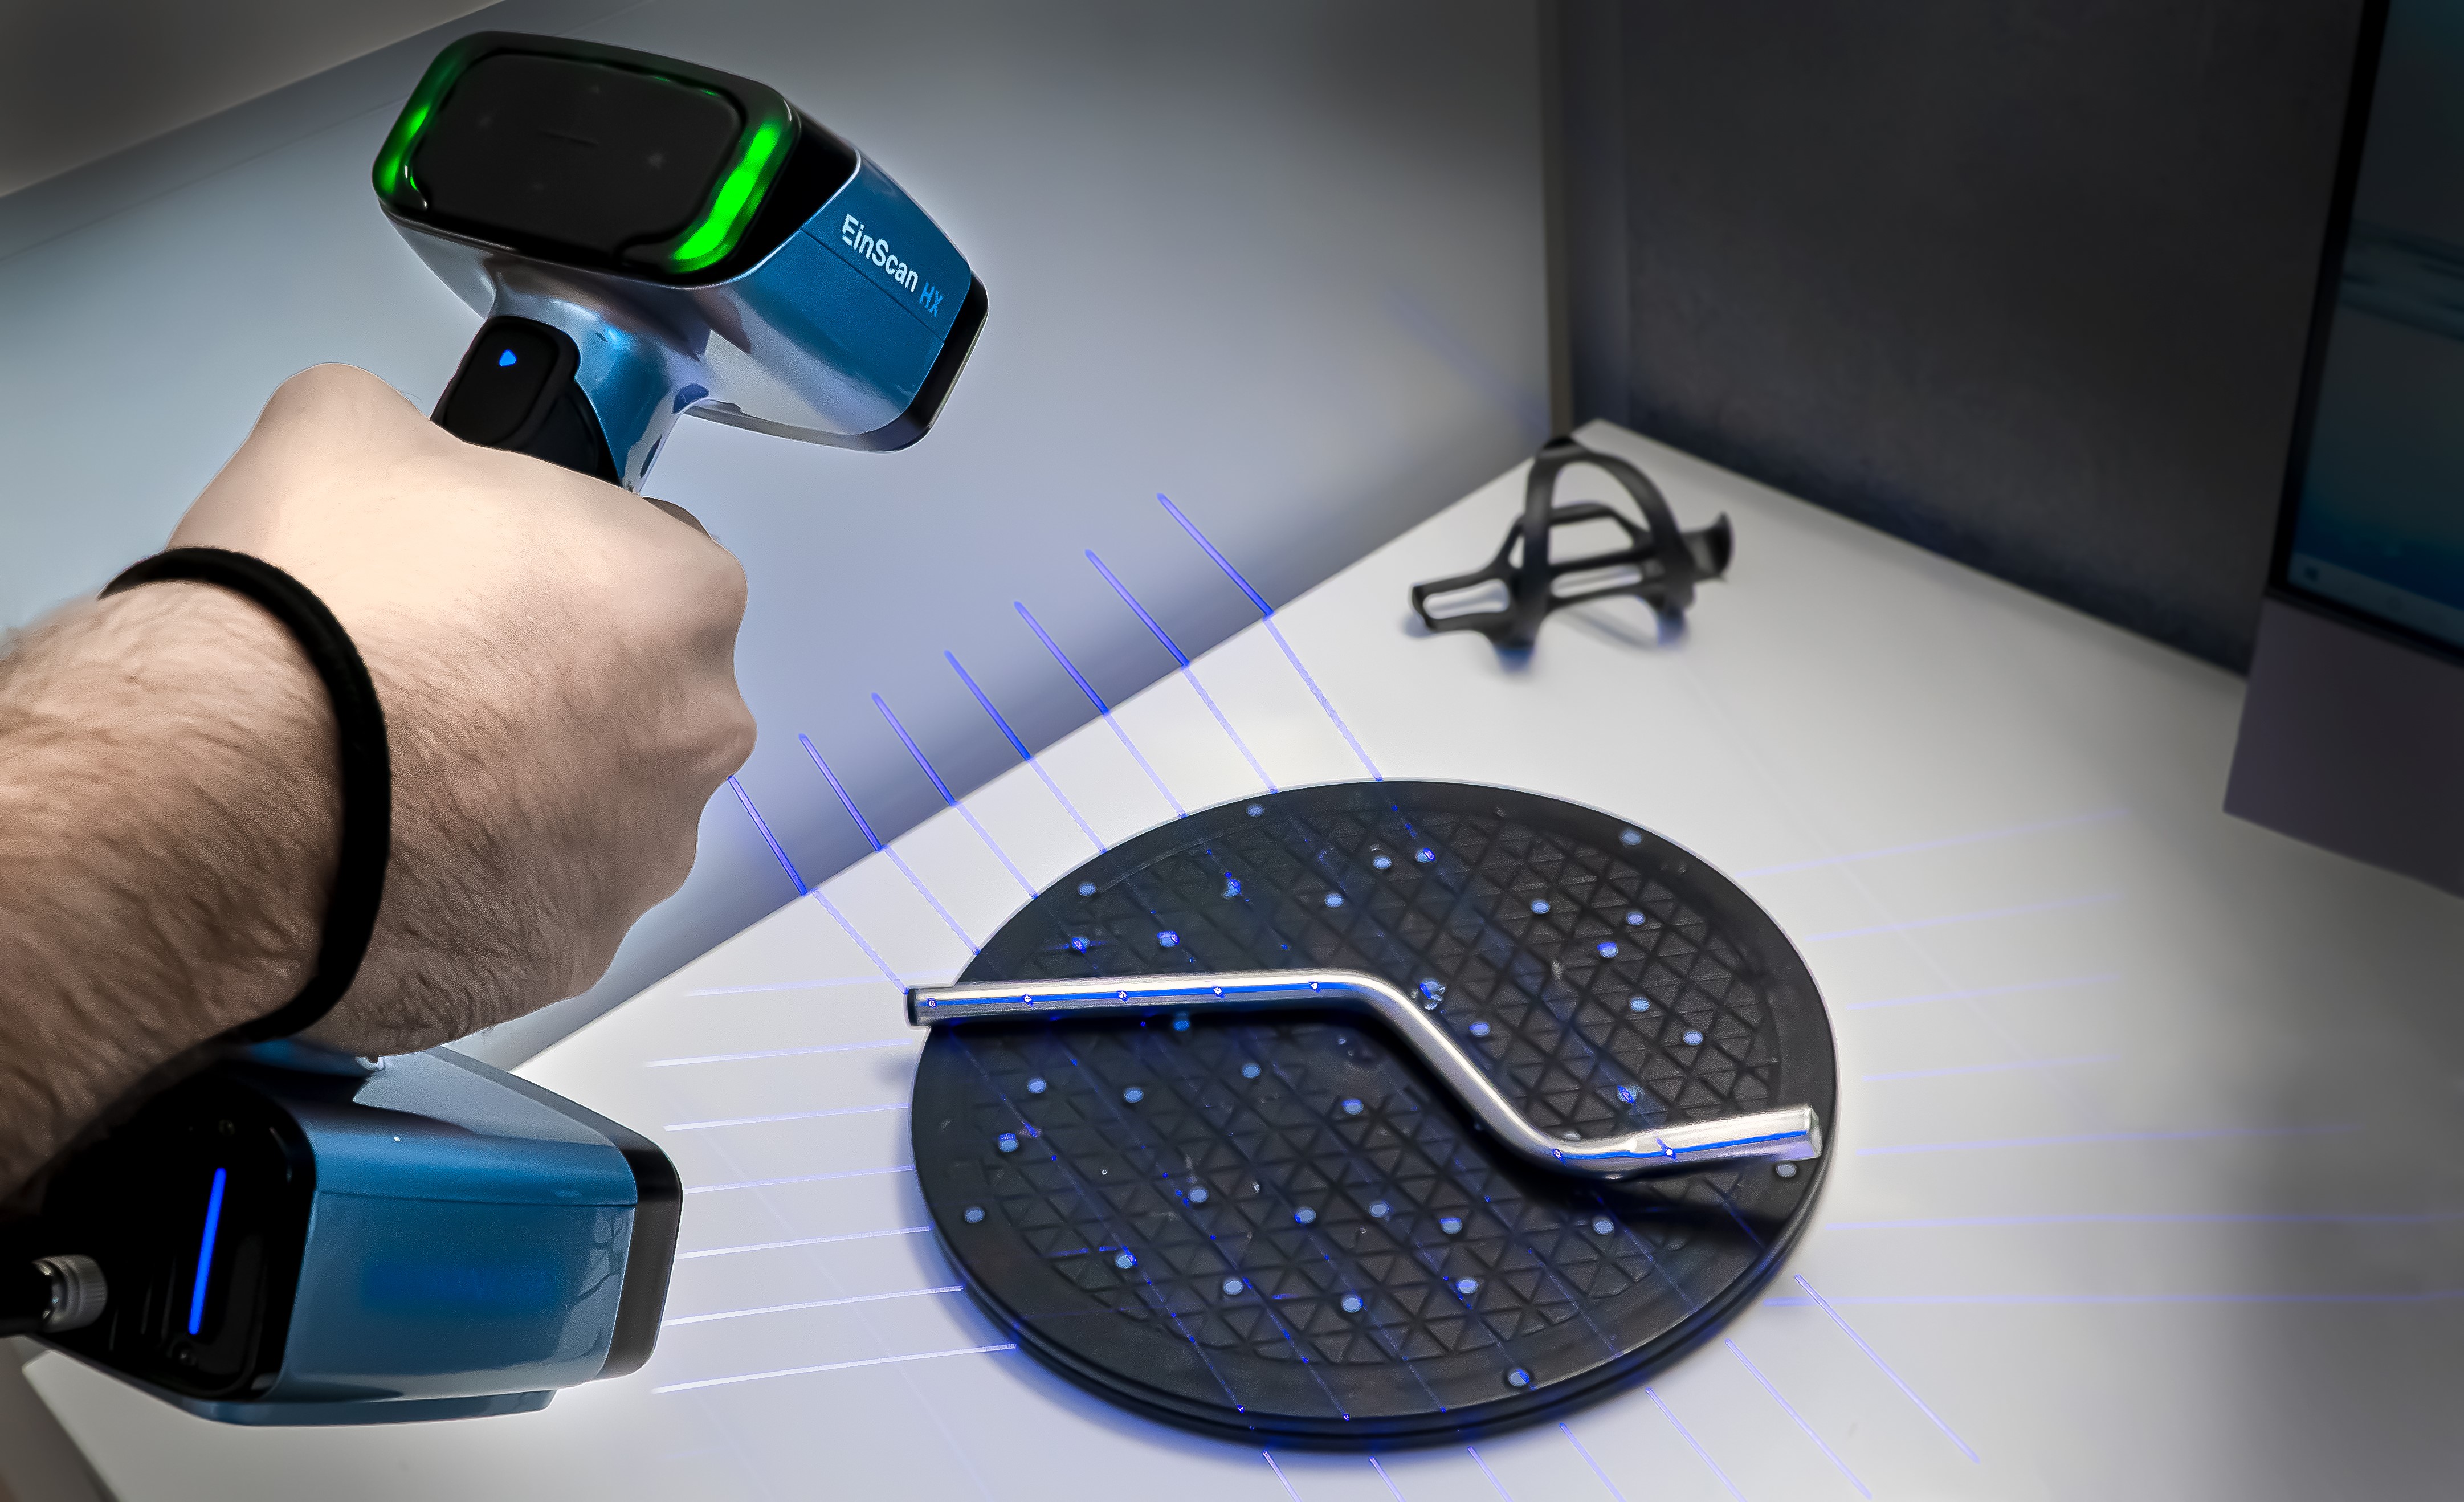
Picture 2: 3D scanning the saddlebag pipe of the motorbike with EinScan HX
3D scanning is a discipline which can still be considered as an extremely efficient secret tip in the additive workflow chain because it can substitute complex design processes and facilitate product development in groundbreaking dimensions. In our case, the newly released hybrid light handheld 3D scanner EinScan HX is used to digitize the left over steel pipe. EinScan 3D scanners popularize the application of the latest 3D scanning technology and make it accessible for professionals, creatives and at home hobbyists alike. After the scanning process, an STL file is exported from the EXScan Pro software, paving the way for the next step in the additive workflow chain.

Picture 3: 3D scanned steel pipe
STEP 2: INTELLIGENT DESIGN
The STL file exported from EXScan Pro is imported into the Voxeldance Additive software, a data preparation software helping to save production time and optimizing the printing workflow. The raw surface geometry of the STL is being repaired and closed to a watertight model using the Fixing Module. Since the two steel pipes composing the luggage mount are axisymmetric, the scanned part is mirrored around two axes to generate the original characteristics of the missing part. As in this case we want to highlight the outstanding value 3D digital technology can add especially in the field of production, we decided to 3D print the pipe with a much lighter material than the original one. The aluminum-alloy AlSi10Mg used, weighs only 2/3rd of the stainless steel the original part is made of.
In order to create an even stronger part than the original one, the Structure-Tool of Voxeldance Additive is being used. This easy-to-use procedure helps to hollow the part, create a highly variable lattice structure and add pouring-holes to remove the unmelted powder inside the bar. Having all these valuable features combined in a single software makes Voxeldance Additive a powerful tool for 3D printing data preparation.

Picture 4: Optimized parts with support structure (cut-view)
STEP 3: ADDITIVE MANUFACTURING
The optimized parts are then melted into reality by the EP-M250 Pro dual laser metal 3D printer. For an easy removal of the printed parts from the build platform, the support structure has been designed using the preparation Software Voxeldance Additive. With the Automatic Support Function, a pre-defined but highly adjustable support parameter script is used to create the support in a perforated and fragmented way, yet strong enough to hold the parts in position. After 4,5 hours of fusing metal particles together, the two pipes can be removed easily from the platform by hands and pliers.
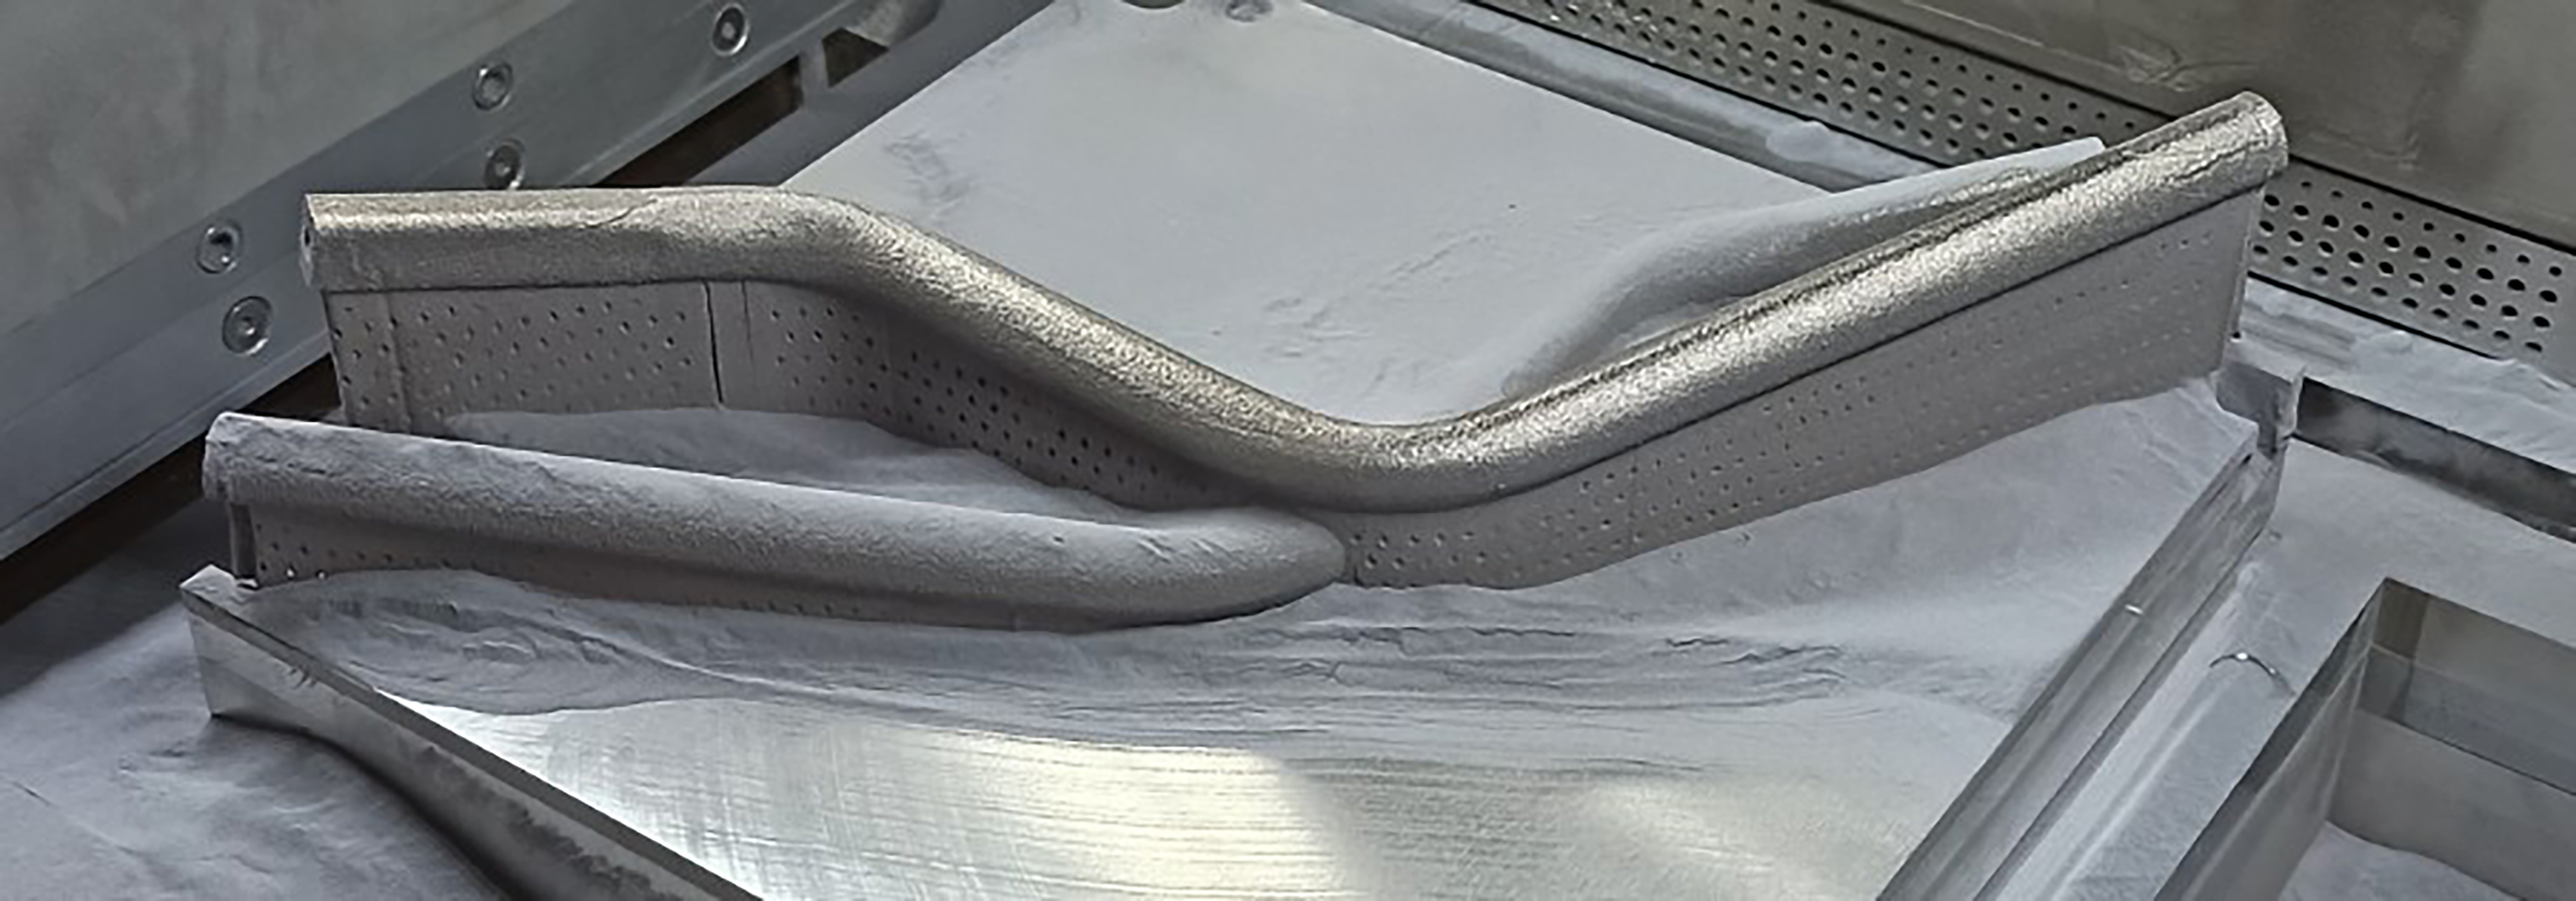
Picture 5: The printed pipes on the build platform in the EP-M250 Pro metal powder bed fusion system
STEP 4: POST PROCESSING
In order to achieve a smooth surface and overall good appearance, post-processing is crucial. At the bottom of the part, the support structure is being removed using pliers and files. The use of sandpaper and a blasting machine with white corundum give the part the perfect matte finish.
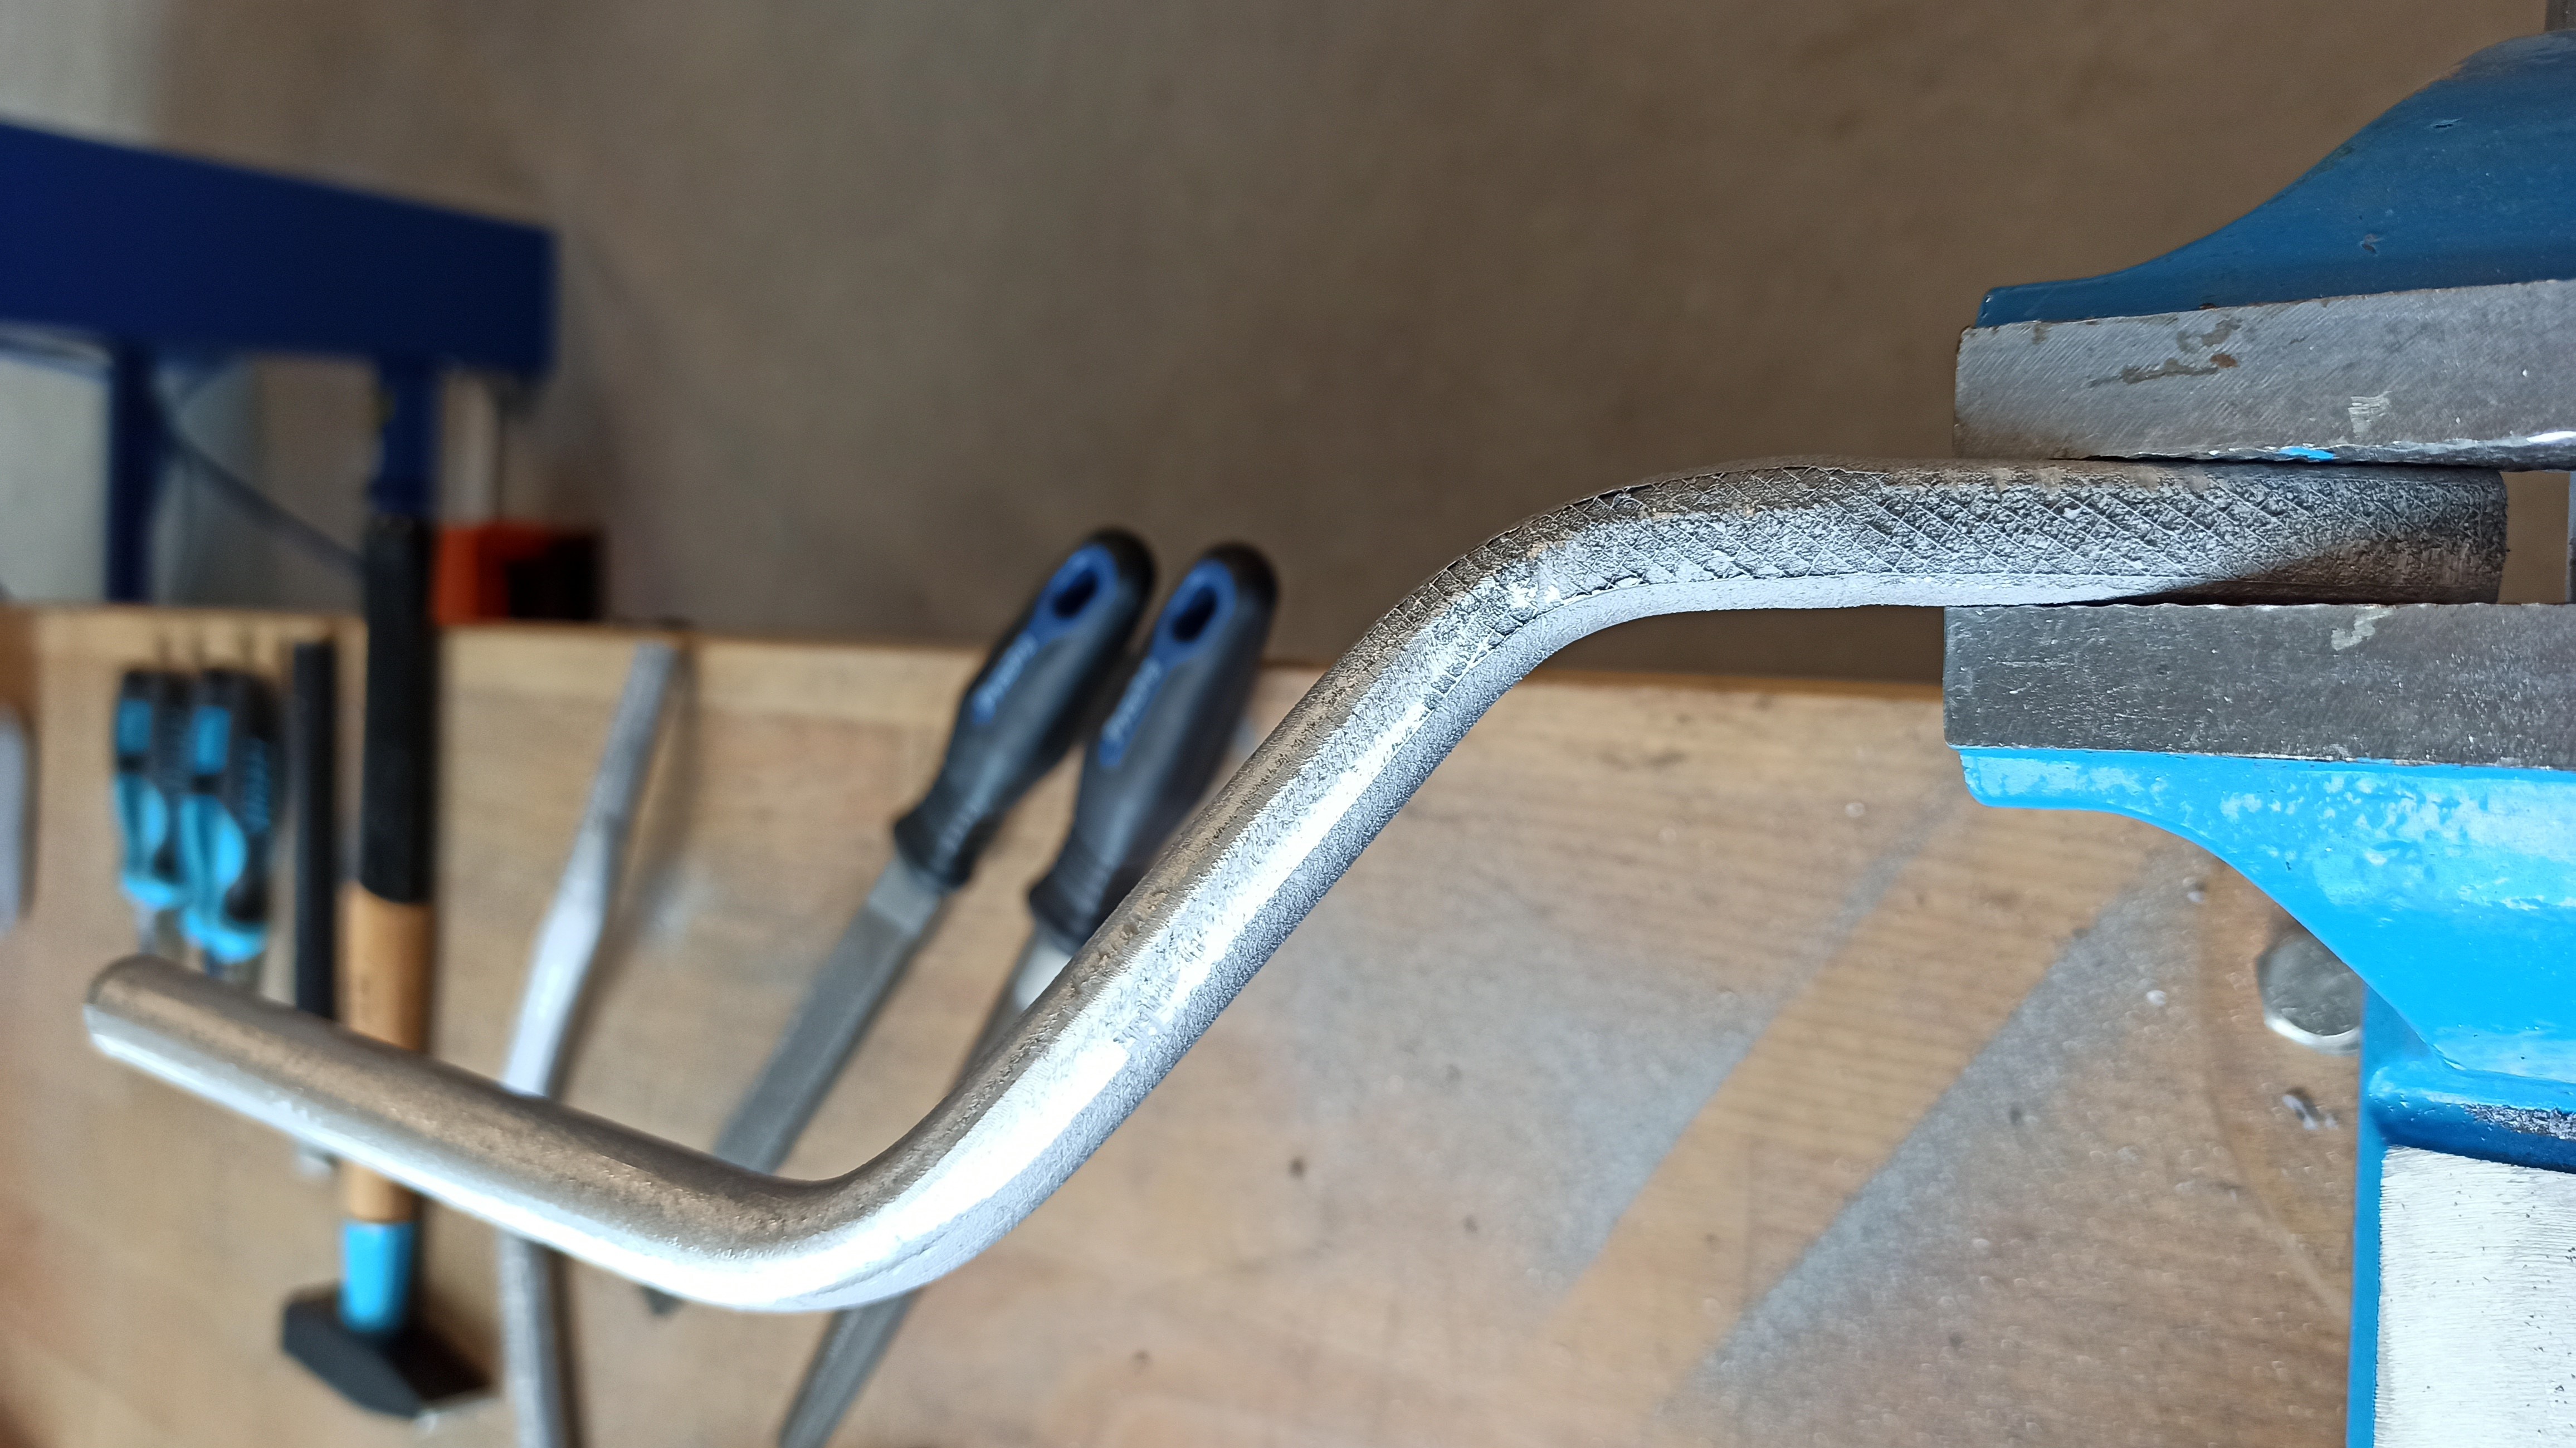
Picture 6: Post processing of the Aluminum pipe
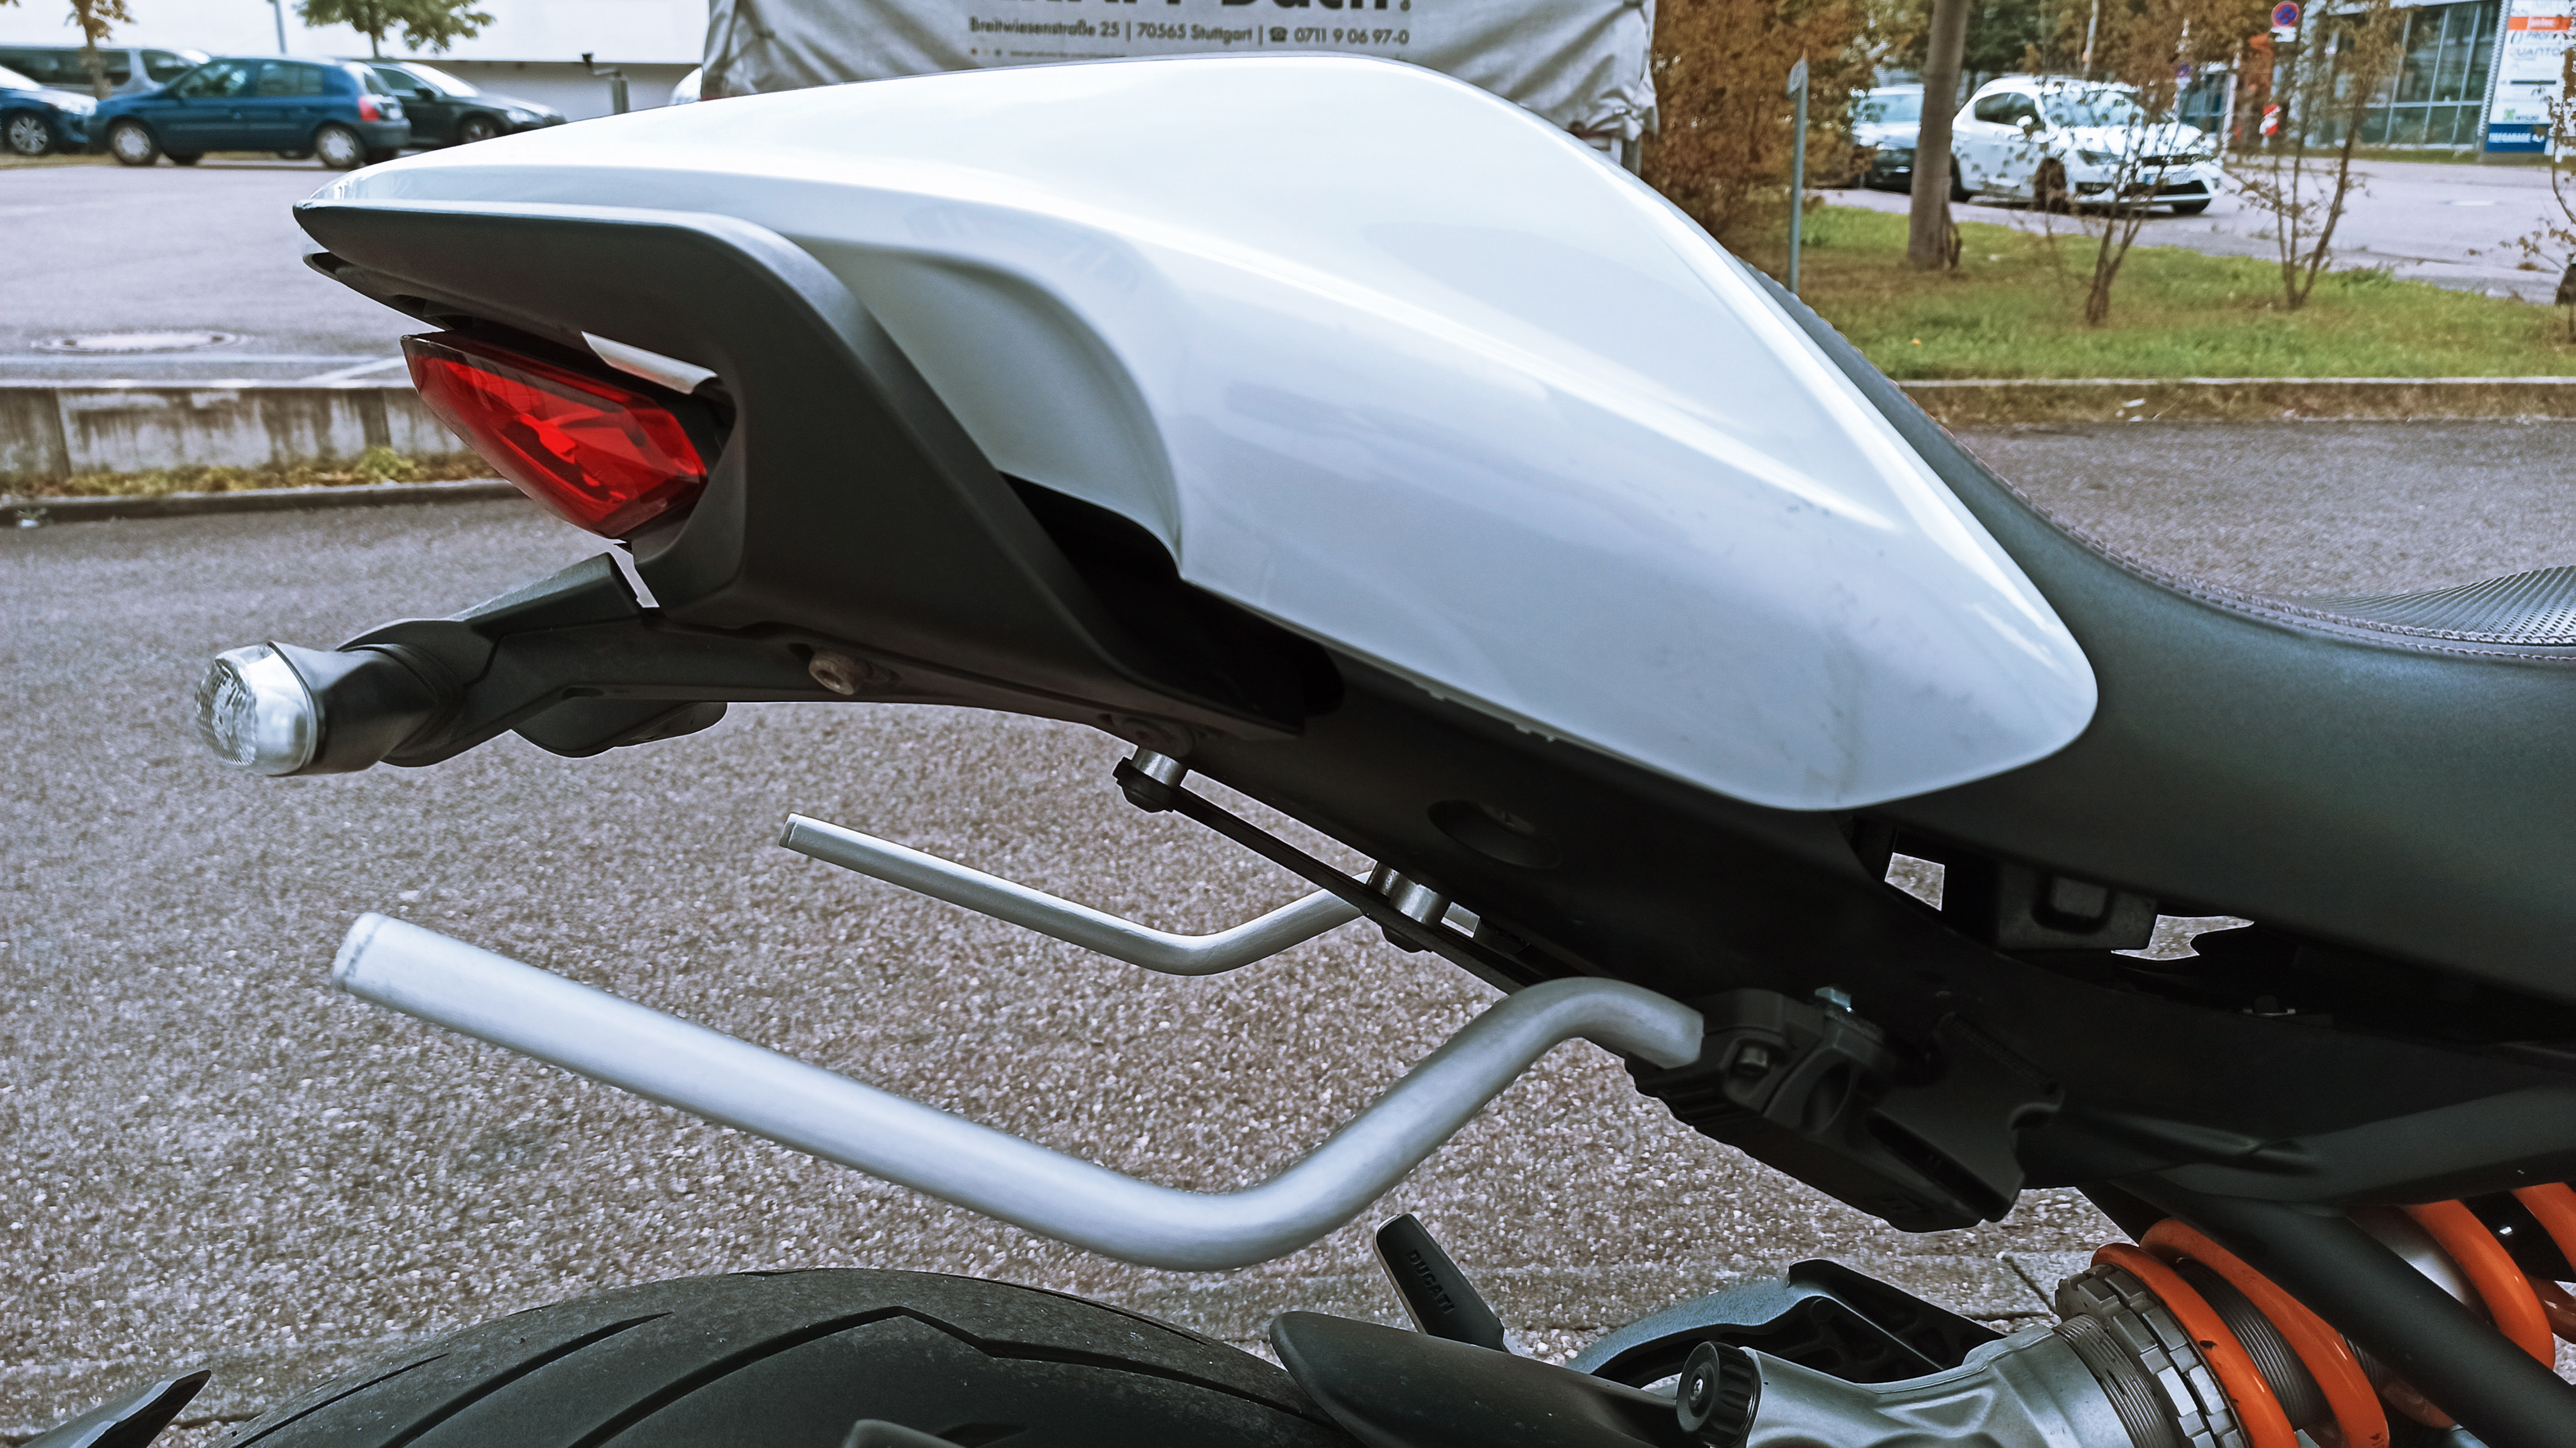
Picture 7: Mounted pipes on the motorbike
PROFITABILITY ANALYSIS
Combining the all cost-factors in this process like labour-, raw material-, electricity-, machine wear- and venue costs, a total of 184€ for both bars is reached. The OEM only offers to purchase a whole set of the saddlebag system for 310€. The use of metal 3D printing has helped to reduce the weight of the saddlebag mount from 525 g to 86 g which is a weight reduction of 83% while increasing the stability through the design of integrated support structures inside the pipes.
If you want to learn more about the digital workflow from Shining 3D or you need help to calculate the total costs of your print, contact us today! We are excited to help you save time, material and money – for more shining ideas!
Contact the SHINING 3D Additive Team


