Automotive interior mainly refers to products used in automotive interior modification, such as steering wheel cover, seat cushions, foot mats and so on. High-quality interior can improve the comfort and safety of drivers and passengers, and is also an important part of the value of the vehicle. In addition to purchasing finished interiors in the market, customizing interiors through 3D scanning is a great option for car owners.
Table of Contents
Why Choose 3D Customized Car Foot Mats?
Firstly, they are tailored to fit the exact specifications of the car’s interior, ensuring a seamless integration with the original design. This snug fit enhances aesthetics while preventing shifting or sliding of the mats.
Secondly, with safety in mind, customized foot mats can be designed to increase safety by maintaining proper clearance from the pedals, reducing the risk of accidental interference while driving.
How to Customize Car Foot Mat Using 3D Scanner & 3D to 2D Flattening Software
Purpose: Customize a car foot mat
Tools:
● EinScan HX Hybrid Light 3D Scanner
● Wrapstyler 3D to 2D pattern making software
Here’s a step-by-step guide on how to achieve the car foot mat customization:
Step 1: Laser Scanning with EinScan HX
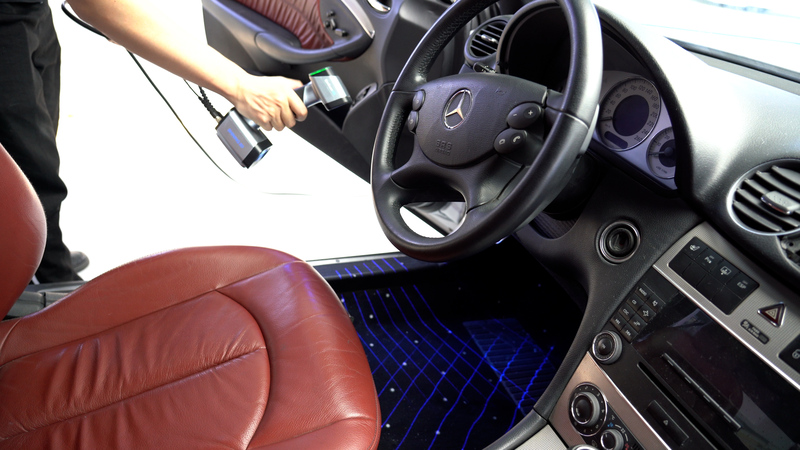
Begin by utilizing the EinScan HX 3D scanner in laser mode to scan the foot mat area of the car thoroughly. The laser mode allows users to quickly capture detailed data of the foot mat area with high accuracy. It provides a good database for cutting the mesh.
Step 2: Importing 3D Data and Cutting the Mesh
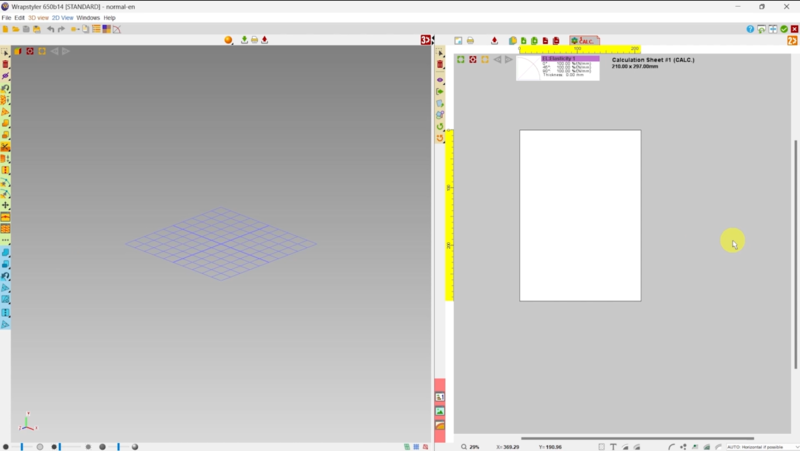
Once the scanning process is complete, we seamlessly import the obtained 3D data into Wrapstyler. The software supports common formats such as OBJ and STL. The OBJ format is recommended because it preserves textures, which can be used to guide plane-cutting positions in specific cases. Wrapstyler’s interface is simple and intuitive, with a 3D view on the left and a 2D view on the right.
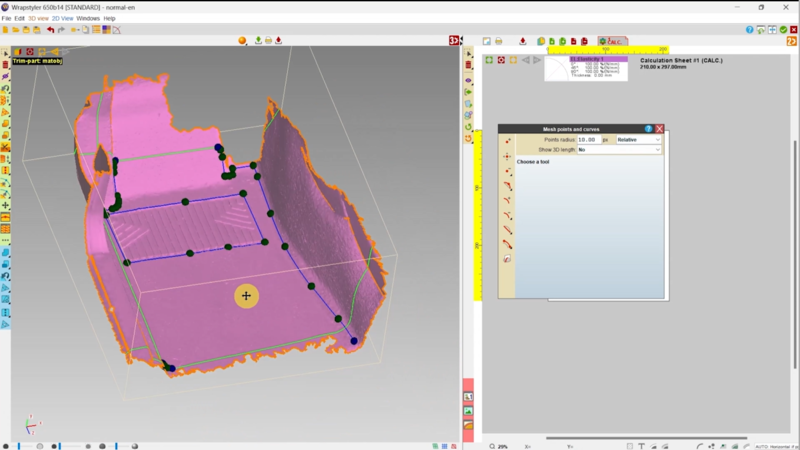
Utilize Wrapstyler’s powerful tools to cut and shape the 3D mesh data according to your desired design. This step allows for creating intricate patterns and customized shapes that perfectly fit the foot mat area.
Step 3: Flatten to 2D Patterns
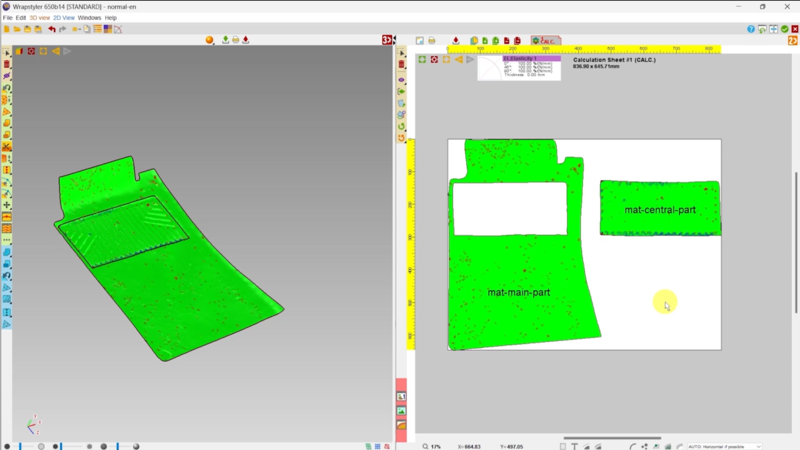
The software intelligently flattens the 3D shapes into precise 2D patterns, providing a clear blueprint for the next steps.
Step 4: Deformations
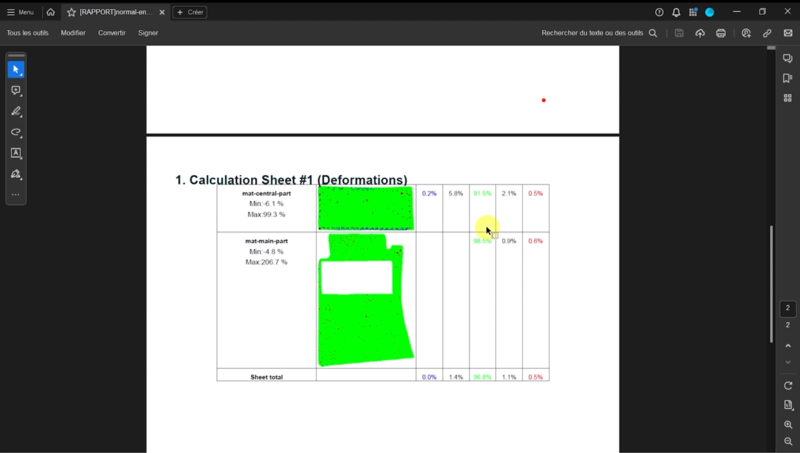
Before proceeding with the actual cutting process, Wrapstyler enables you to inspect the fit between the 2D patterns and the foot mat area. Detect and address any deformations to avoid material wastage and ensure a perfect match between the design and the car interior.
Step 5: Add Seam Allowance
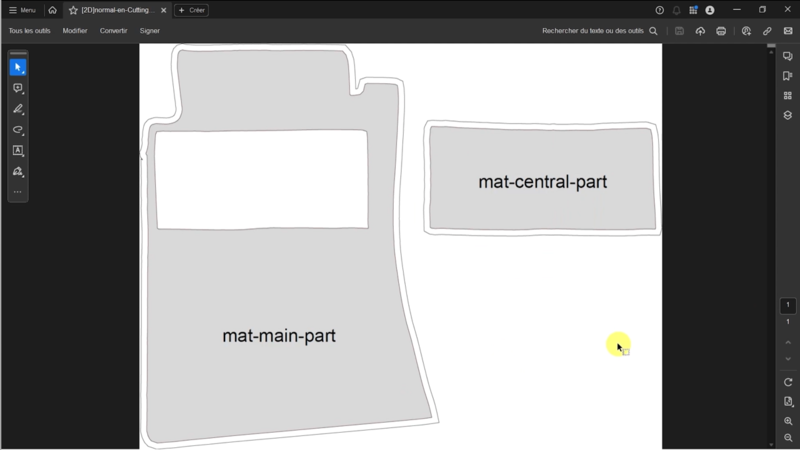
Enhance the practicality of your patterns by seamlessly adding necessary seam allowances. This step ensures a smooth transition from the 2D patterns to the final product.
Step 6: Drawing and Cutting by Machine
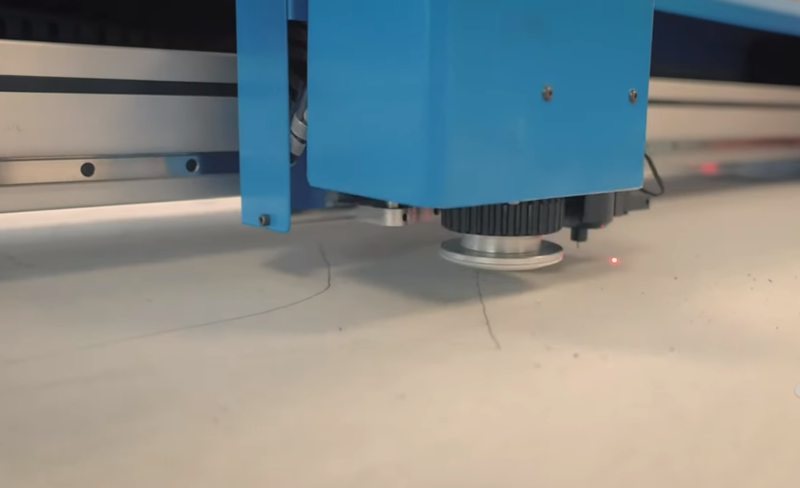
Prepare for production by exporting the finalized 2D patterns. The drawings can be directly used for machine cutting, ensuring precision and efficiency in the manufacturing process.
Step 7: Sewing
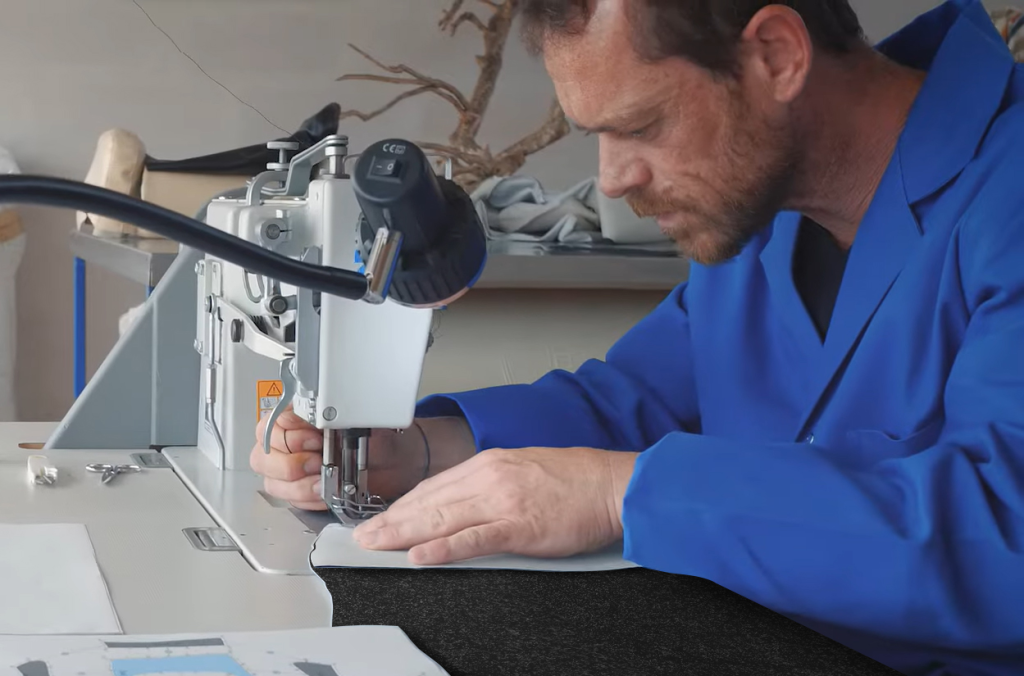
Complete the car foot mat customization process by sewing together the cut patterns. The accurately tailored foot mat can now be seamlessly integrated into your car interior, adding a personalized touch to your vehicle.
This step-by-step guide demonstrates a simplified process that illustrates how the EinScan 3D scanner and Wrapstyler 3D to 2D flattening software deliver a precise, efficient, personalized experience. For more details, check out our webinar. If you are interested in customizing your car’s interior and would like to be involved in the entire process, please do not hesitate to contact us for a free consultation.


